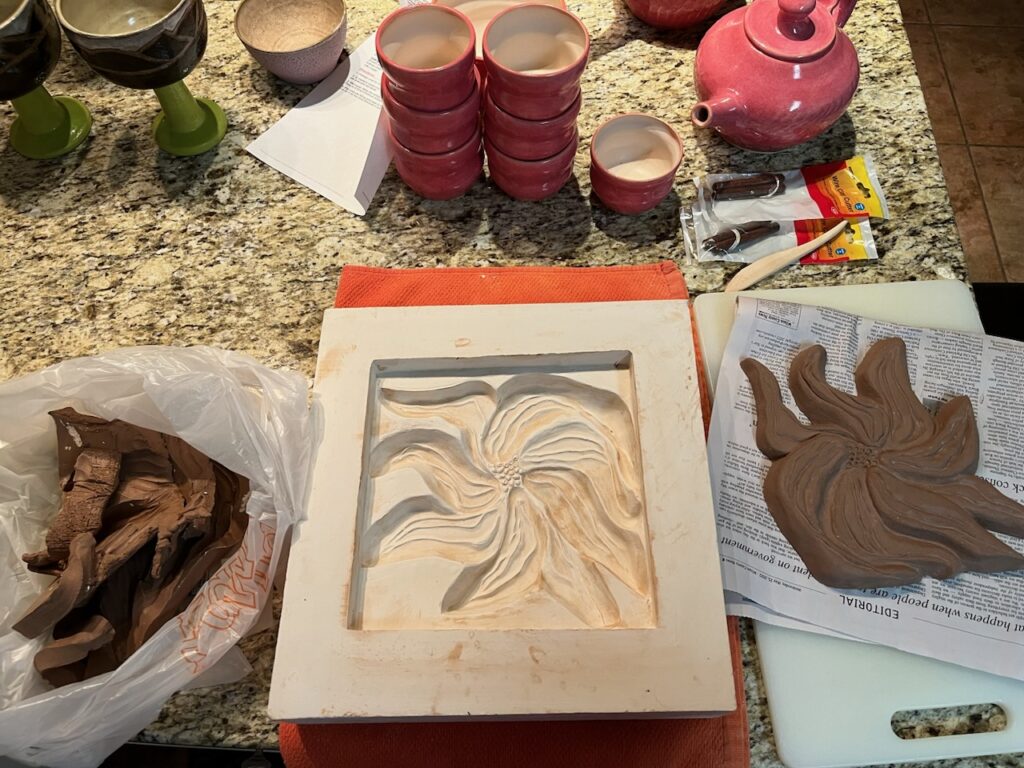
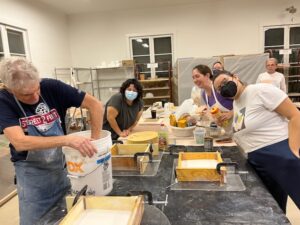
My students have been making clay tiles in three layers. At leather hard, the tiles are placed in a form and plaster is poured over the tiles revealing a cavity after the original tile is removed. Once the cavity mold is dry, they can take damp clay slabs and press the clay into the mold. Using this technique they can make multiples of their tiles. The forms are put together using “cottles” (walls) and held in place with small C clamps. The walls and surface below the tile are brushed with Murphy’s soap that acts as a resist, keeping the plaster from sticking to the walls. Depending on the size of the mold and the depth of the plaster it usually sets up in about 40 minutes. As the cast hardens, a chemical reaction causes the piece to heat up. Because there is more water than required for the reaction, the excess water begins evaporating from the cast. The mold should be dry and ready to use within 24 hours.

Cool, Marc. I’m betting you are a great teacher and that your students feel fortunate to be learning from you. Glad you and Mary finally made it to Paris. Congrats.
Darn! I’m missing out on learning this technique!